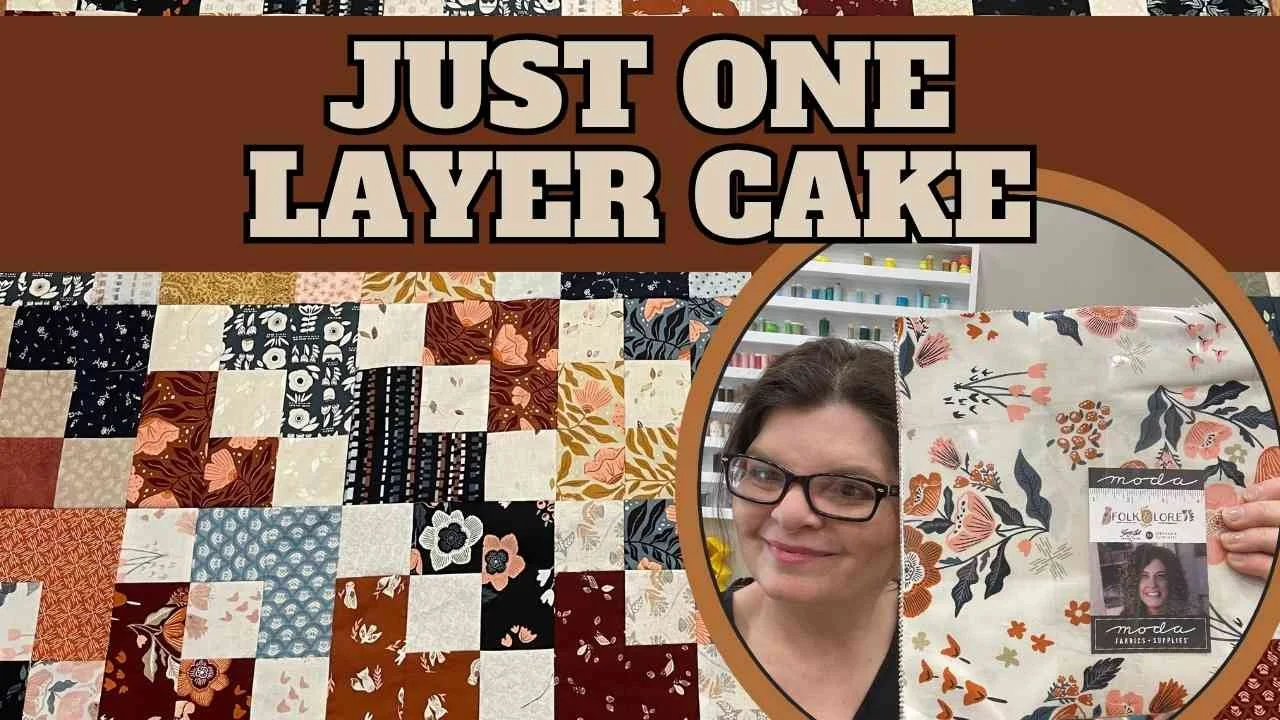
Just One Layer Cake
To see the video, click on the photo above or click HERE.
Are you ready for two projects in one? Not only am I going to show you have to make a quilt using just one layer cake, but I am also going to show you how to expand a layer cake by using your scraps. A little history first: I have a video where I showed how to curate scrap from our own stash to extend a layer cake. You can read that blog HERE and watch the video HERE. If you saw those, this is the moment you have been waiting for! I bring them together!

I used the fabric line Folk & Lore by Fancy That Design House for Moda in this video, but you can use whatever Layer Cake you’d like! If you want to use scraps, that works, too.

Step 1: Sort Lights, Mediums, and Darks
For this project, you will need 25 dark fabric squares and 12 light fabric square. Please note: If you are using a layer cake, that will mean you will have five 10” squares left over. Since the layer cake I am using doesn’t have enough dark fabrics, I use some of the mediums to bring into the stack. I also use the back sides of some fabrics to use as lights.

Step 2: Cutting the Dark Fabrics
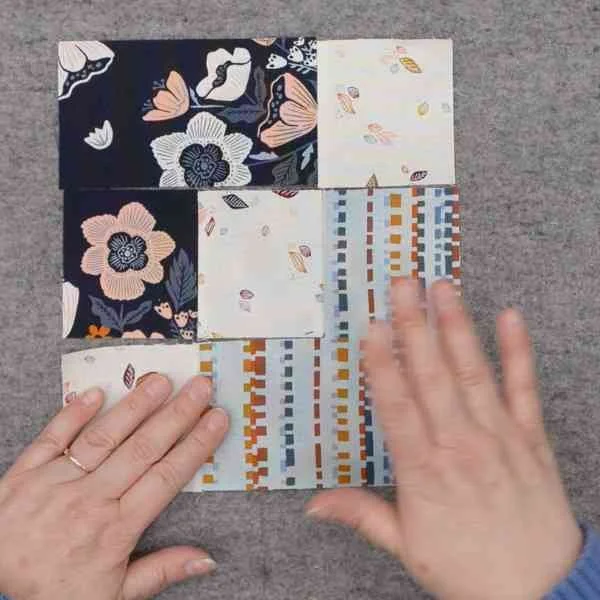
From each of the dark 10” squares, you will cut (3) 3” x 10” strips. Next, you will subcut each strip into (1) 3” square and (1) 3” x 5.5” strip. Keep the sets together for assembling the block.

Step 3: Cutting the Light Fabrics
From each of the light 10” squares, you will cut (3) 3” x 10” strips. Next, you will subcut each strip into (3) 3” squares, for a total of (9) 3” squares from each 10” block of fabric.
Step 4: Sewing the Blocks
It is time to sew the blocks together! YAY! Layout the pieces as shown. Next, sew the rows together. To aid in the construction process, press the seams open. This will allow for variations in the layout.
Step 5: Laying Out the Blocks
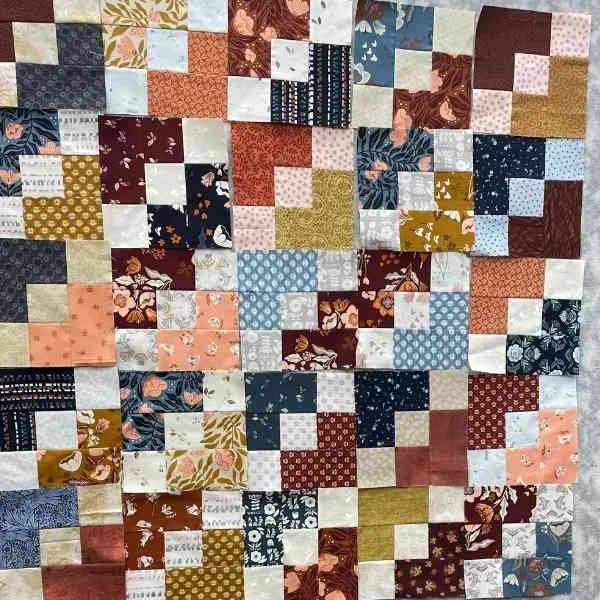
Now that the blocks are finished, the fun can begin! YAY! As you play with these blocks, you will see that there are endless possibilities! Here is one of the ways to lay this out. This has 36 blocks in it, with six blocks across and six rows. This also has a mix of scrappy blocks and layer cake blocks. Can you tell?

Step 5: Laying Out the Blocks (Continued)
Simply by turning every other block, you get a look like this! Isn’t it great? I love this, too! It has a wonderful secondary pattern. Love it!

Finished Quilt Top! YAY!
Isn’t it great? I love how this turned out! I also made another with the “imposter” blocks (blocks made from scrap) included, but let’s talk about this one first. This includes (36) 7.5” (finished) blocks. There are (6) across and (6) rows, which measures 45” x 45”. You could also make it with (5) blocks across and (7) rows down, which would measure 37.5” x 52.5”.

Added Scrappy “Imposter” Blocks
I also made blocks from scraps! You can learn how I curated the scraps HERE and there is a video link too in the blog. I simply cut the sizes needed from my scraps and made blocks. I LOVE how this turned out. In fact, I think I like it even more than the original! It adds more variation, in my opinion. What do you think? This quilt has (49) blocks in it and measures 52.5” x 52.5”. You certainly could make it even bigger!
Number of Blocks Needed
Each block is 7.5” finished, so to calculate the sizes, you would multiple 7.5” by the number of blocks across and the number of rows. For example, if you have (6) blocks across and (6) rows down like in the Just One Layer Cake sample, you would have a quilt 45” x 45” (6 x 7.5” = 45").
Here are some more sizes if you want to make it bigger:
49 Blocks: (7) blocks across and (7) rows would make a quilt 52.5” x 52.5”.
56 Blocks: (7) blocks across and (8) rows would make a quilt 52.5” x 60”
90 Blocks: (9) blocks across and (10) rows would make a quilt 67.5” x 75”
100 Blocks: (10) blocks across and (10) rows would make a quilt 75” x 75”
Let me know if you want more! I am happy to help!
Please let me know if you have any questions! As always, I am happy to help!
Happy Quilting!
Kris