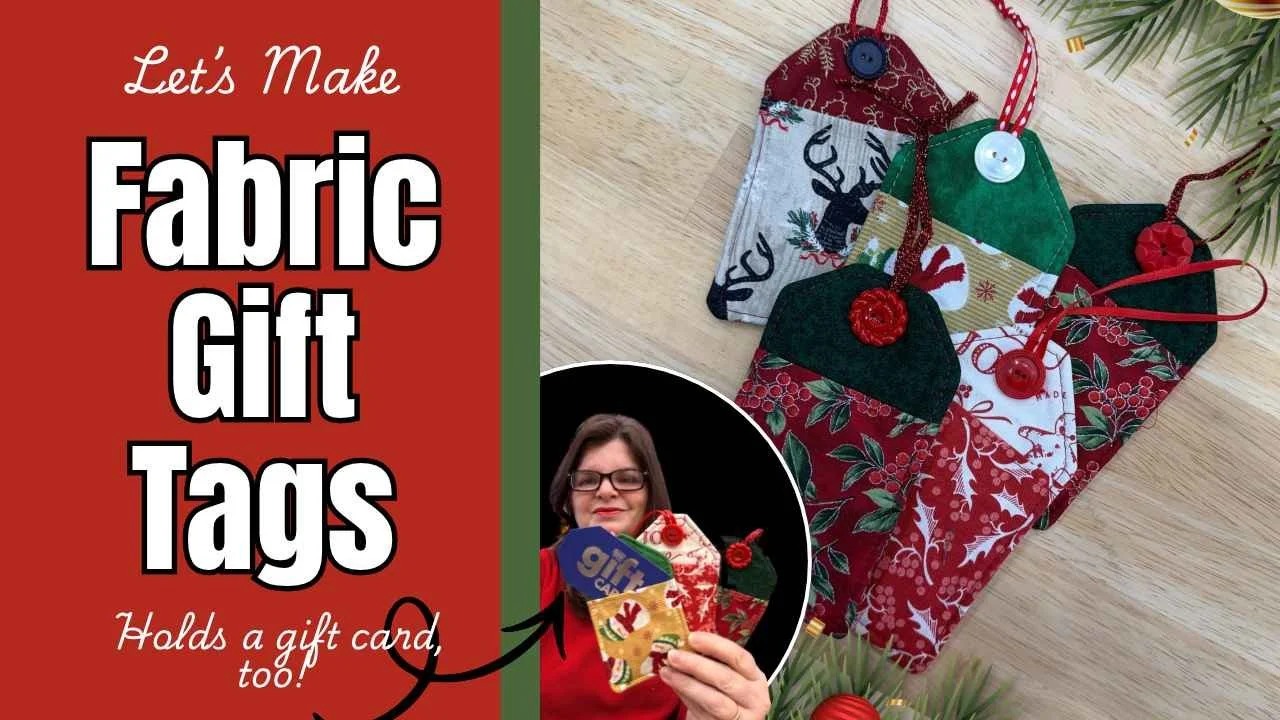
Check out the video that goes with this blog HERE.
I came up with this idea back in July while I was coming up with ideas and project for Christmas Quilting in July. Who doesn’t love to give gift cards as gifts? I know I love it! Gift cards are always the right size, everyone can use them, and they are easy and fun! Of course, many people don’t like to give them because they are impersonal, which is true, UNLESS you give them along with a handmade gift card holder. These are perfect because they are unique, can double as an ornament, and can be customized to fit all personalities! Let’s get started making these!
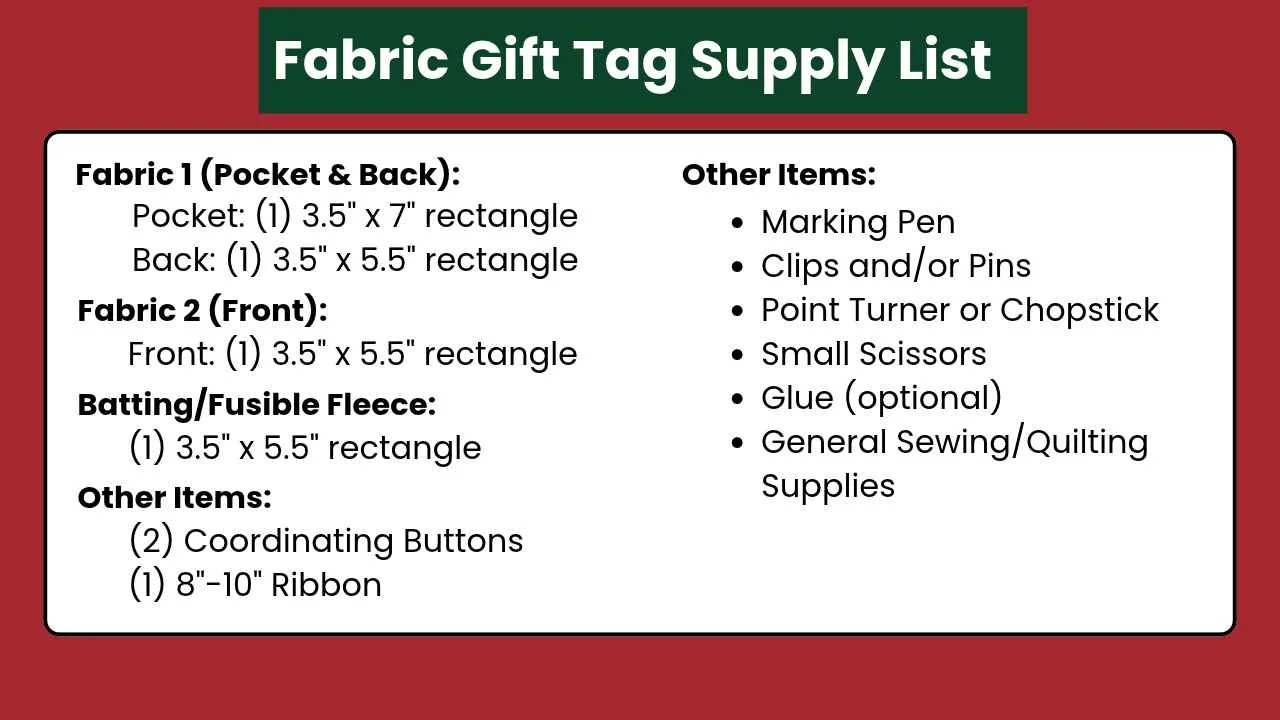
Supply List
Make it stand out
Whatever it is, the way you tell your story online can make all the difference.
Let’s Make It!
Step 1: Picking Fabrics
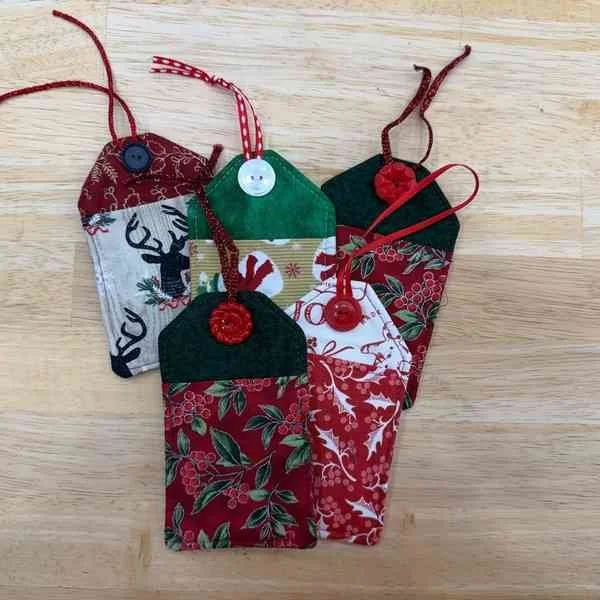
There are a few things to look for when making these gift tag gift card holders. I suggest using small-scale prints for your first one to get a feel for it. After that, the sky is the limit! You can fussy cut motifs, make them with themed fabric, scraps, collections, whatever! Have some fun with these. They work up fast and are easy to make.
Step 2: Preparing the Pocket
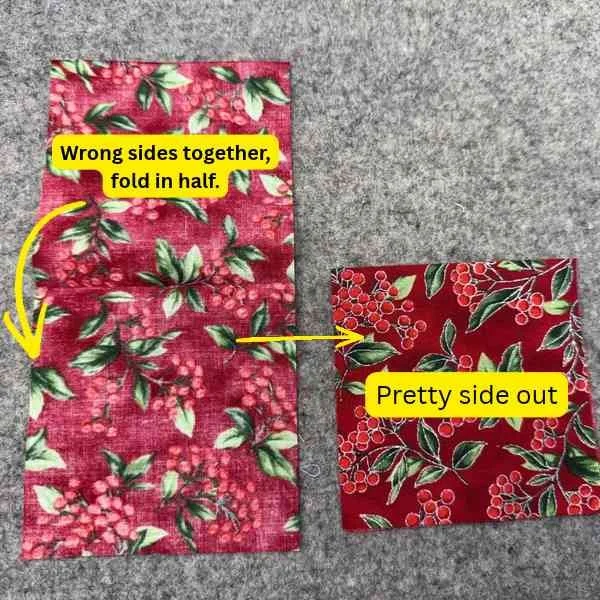
With WRONG sides together, fold the 3.5” x 7” rectangle in half lengthwise; press well. Optional: Top stitch about 1/8” from the fold. Next, gather the front 3.5” x 5.5” front fabric. Place the folded pocket fabric on top of the front fabric on the right side (pretty side) of the front fabric. Optional but recommended: About 1/8” from the edge, baste the pocket along the side edges to hold in place.
Step 3: Adding Fusible Fleece
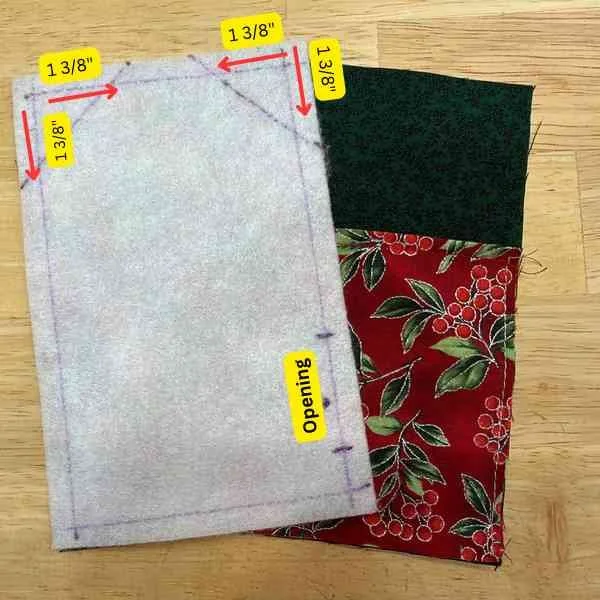
Fuse the 3.5” x 5” fusible fleece rectangle to the back (wrong side) of the pocket/front unit made in Step 1. Once it is fused into place, measure 1/4” from the edge of the rectangle around the perimeter. Next, measure down 1 3/8” from the top left corner and mark with a dot. Measure over 1 3/8” from the left corner and mark with a dot. Connect the two lines to form an angle. Repeat this on the left side. This will create the angles for the tag. Next, mark the area that will be left open for turning.
Step 4: Sewing Gift Tag Together
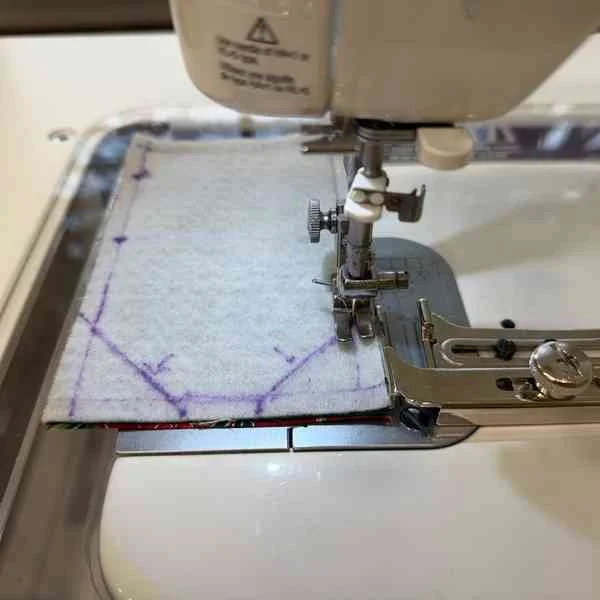
With right sides together, place pocket/front unit on top of the 3.5” x 5.5” backing fabric. Clip or pin together, making sure to line up all the edges. Next, sew 1/4” from the edges and on the drawn diagonal lines, starting at the opening (for turning), backstitch, and sew around backstitching at end, leaving an opening.
Step 5: Trimming & Turning
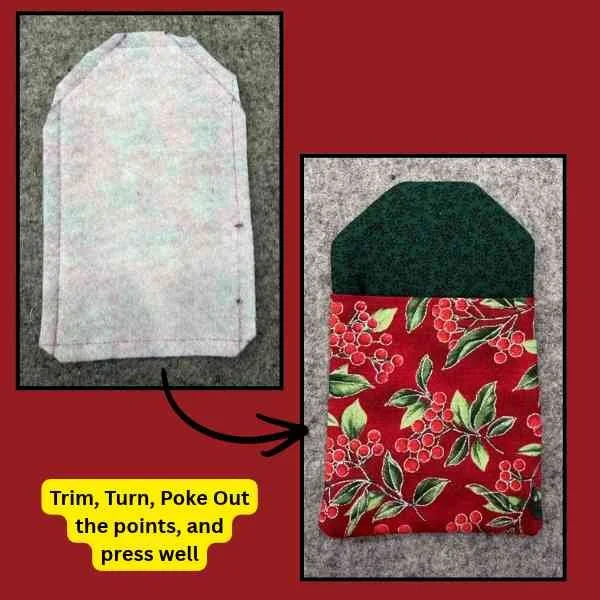
After sewing the front and back together, trim 1/4” away from the angled lines and trim the corners to reduce the bulk. Turn the tag right-side out and press, making sure that the opening is folded inward. Push out the points and edges with a chopstick or point turner. Press really well. Optional: use a little bit of glue to close up the opening used for turning. Top stitch about 1/8 from the edges of the tag.
Step 6: Finishing
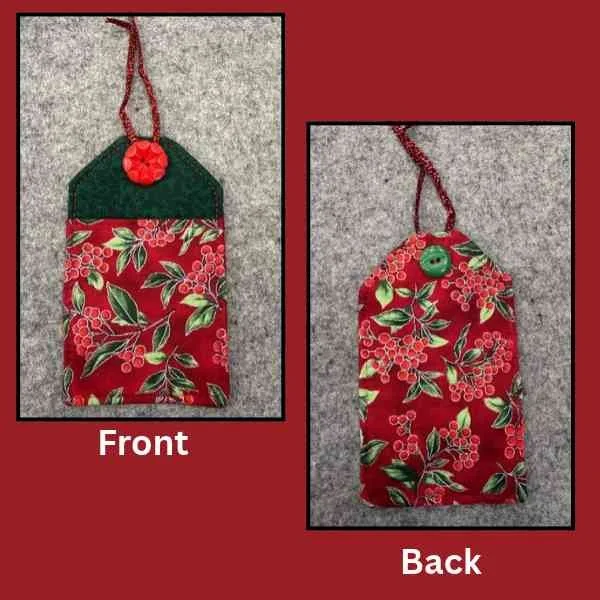
To finish this project, add a grommet or button to finish the top. You can also add a ribbon around the button or through the grommet to make into an ornament or to attach to a gift, use as an ornament, or however you would like! Have some fun with this! There are so many great variations.
Please let me know if you have any questions. Happy to help!
Happy quilting,
Kris