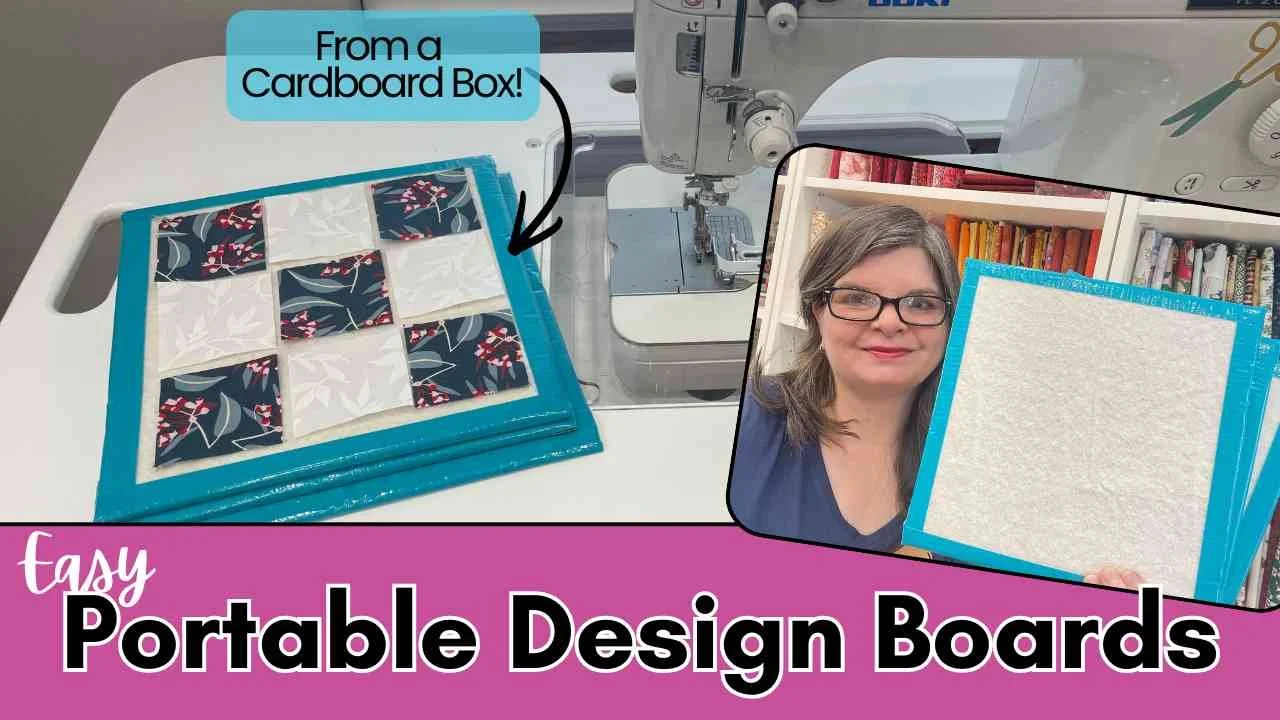
DIY Portable Design Boards
Don’t you just love it when an idea hits you out of nowhere? That’s what happened to me with these design boards. Now, let me just start by saying that I made these a few years ago when my friend Gail showed me how to do it. She uses duct tape, foam core, and batting. I love these! They were easy, used up something I already had (scraps of batting), and I could make them any size I wanted. I immediately made a few larger ones, and I use them all the time. You may have even noticed them in my tutorials.
A quick note: some links in this post are affiliate links (including Amazon). If you shop through them, I earn a small commission — it's one of the ways I keep this blog running, and it never affects what I recommend.
Fast forward to this week. I wanted to make some that were smaller and would work well with the 100 Modern Quilt Blocks that I am making. Since these blocks are 6.5” and because we do need a bit of extra room on these to lay out the pieces, I landed on a 9” square for the desired size. Off I went to buy foam core. I was shocked at the price! It was $8.00 for a 22” x 28” piece of foam core! I know I paid much less only a few years ago. But I bought it.
On my way home, I got to thinking: why couldn’t I use cardboard as a base? After all, I had tons of it (I shop a lot online). Once I got home, I started cutting up a box and making portable design boards. Guess what? It worked! That brings me to this tutorial. Let’s make these together!
Step 1: Decide on a Size
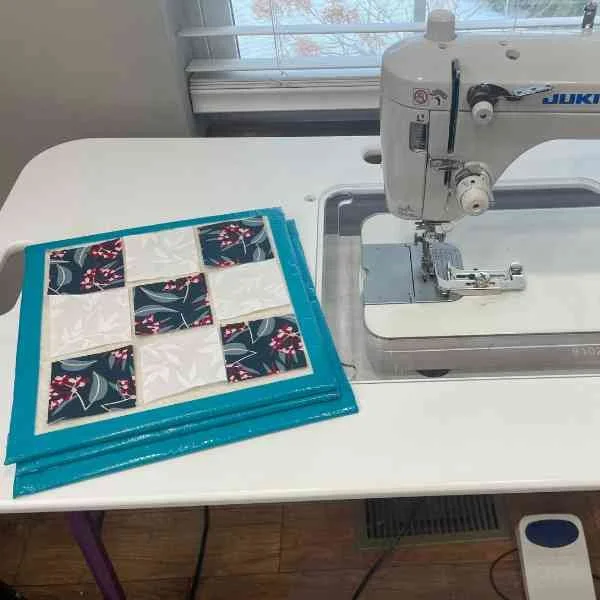
Before we can really get started, we need to decide on a size. That is the best thing about these (in my opinion)--you can make them any size you want! When deciding on a size, keep in mind that you want space between your pieces since you will be using this to lay out your unfinished blocks. Also, remember that there will be a duct tape border around the design board that will be unusable space.
Step 2: Cutting Cardboard to Size
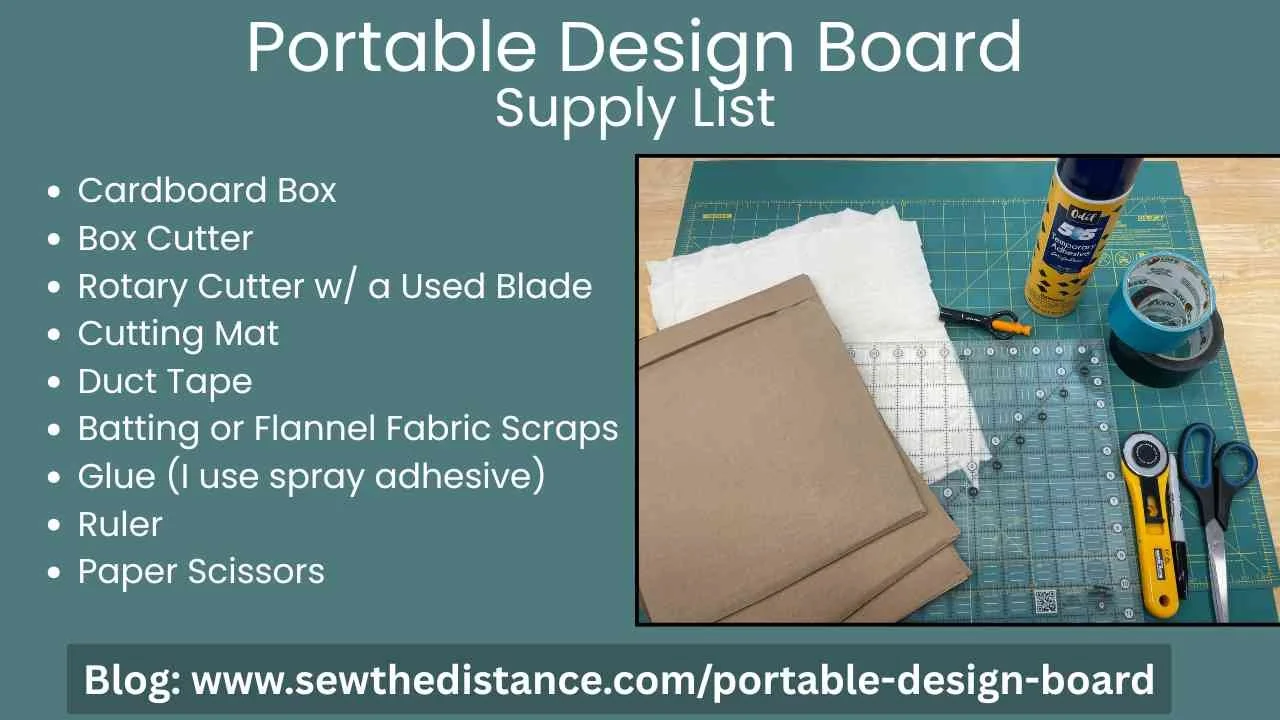
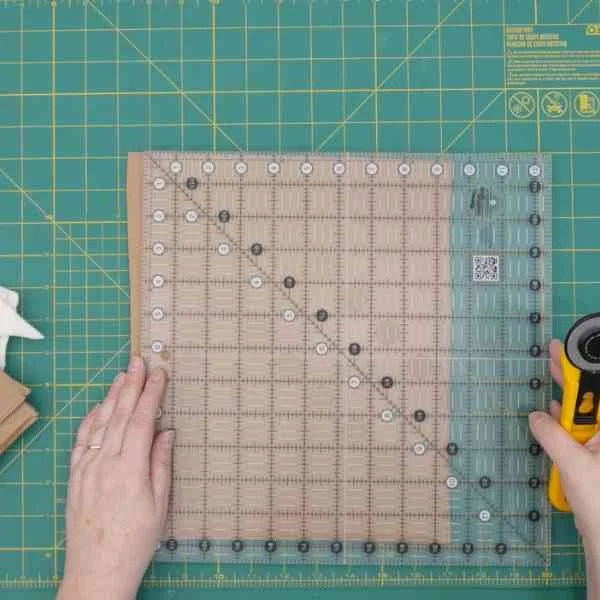
Once a size is decided, it is time to cut down the box. To get it into manageable pieces, I use electric scissors, but you can use a box cutter. Now that it is flat and cut into chunks, we can make it the size we need for our design board. For this, I use an old rotary cutter that is specifically for paper with an old blade in it from when I change my rotary blades. Cut out the desired size just like you would cut out a piece of fabric.
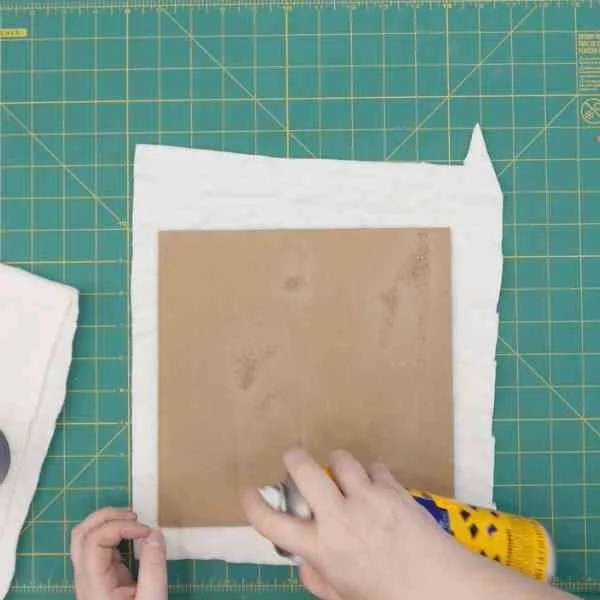
Step 3: Adding Batting
Now that we have cardboard cut to the desired size, it is time to adhere the batting scrap to the cardboard. There are a few things to keep in mind for this step: 1. If there is writing on the cardboard, you may see it through the box. That may be what you put on the back of the design board. 2. Make sure to use a non-lumpy glue. For example, if you use hot glue, there may be bumps or lumps on your design board. I like to use 505 Spray Adhesive, but a glue stick works well, too.
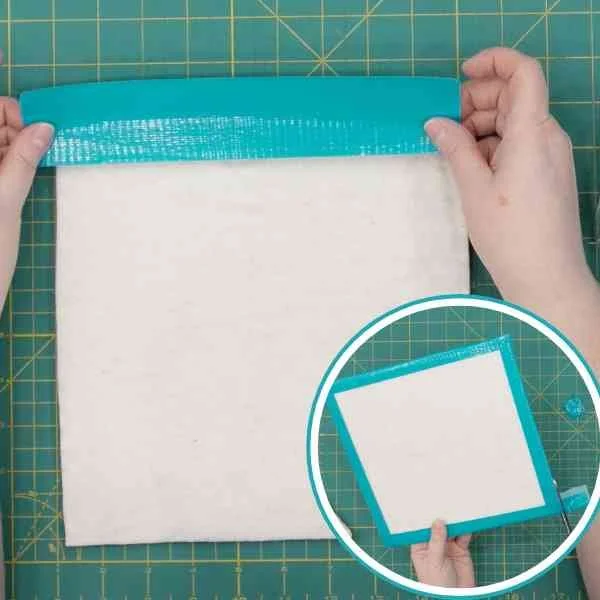
Step 4: Adding the Duct Tape
Let’s finish the design board! The next step is adding the duct tape to the edges. I like to have a fairly consistent reveal (is that the right word? Frame?) around the edges. To do this, I place the design board on a cutting mat, cut a piece of duct tape slightly longer than the side, and line it up on the ½” mark on my cutting mat. After placing it on the design board, I wrap it around the edge and cut off the excess. I repeat this on all four sides.