Cat Quilt Block
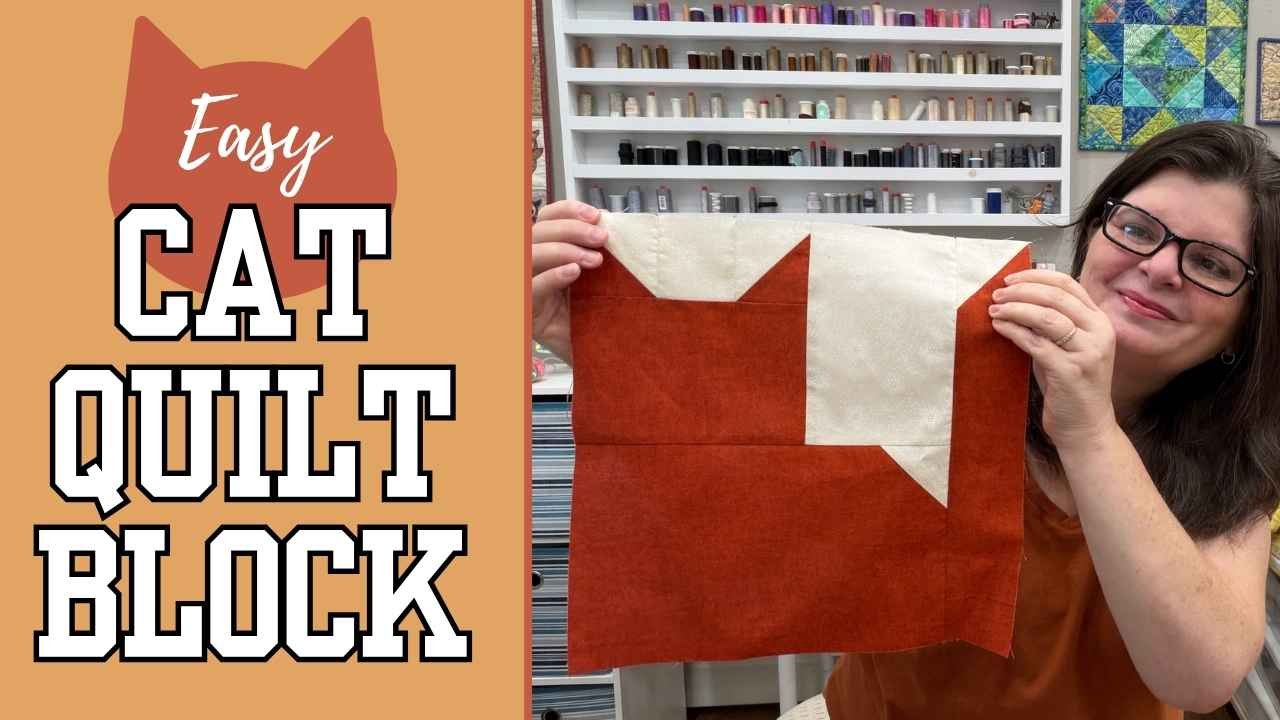
Check out the video that goes with this blog HERE.
Ready for a fun and easy cat quilt block? Imagine having some fun with this one! Of course, this is perfect for Halloween with a black cat and an orange background, but you really could make this for other holidays and occasions as well. Imagine how fun it would be to have a Christmas Cat quilt? Or a Valentine’s Day Cat Quilt? Let your imagination run wild! Let’s grab some fabric and start making this block!
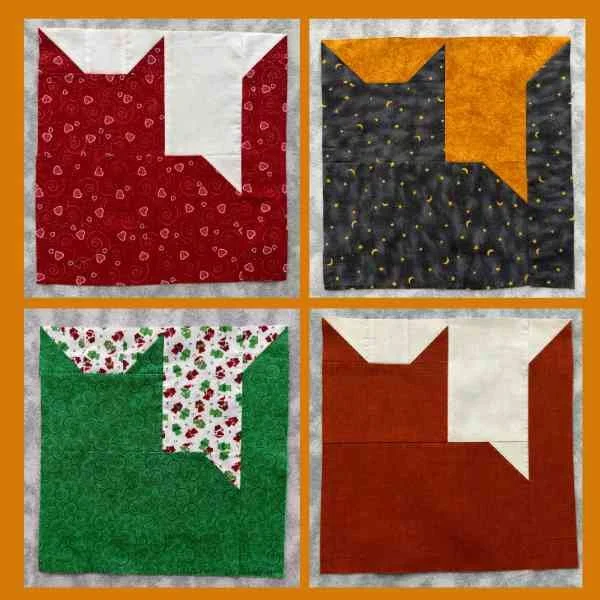
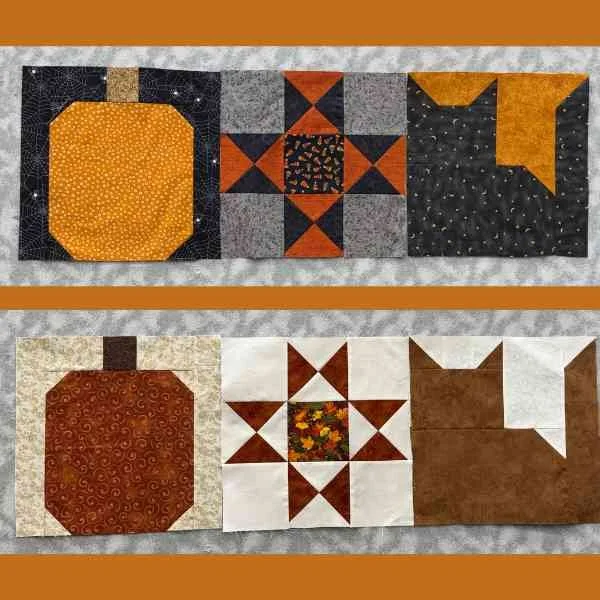
This block measures 12.5” unfinished and 12” finished (when put into a quilt). This block mixes really well with the pumpkin quilt block I showed in October 2025 and the Ohio Star block I showed in January 2025.
Supply List
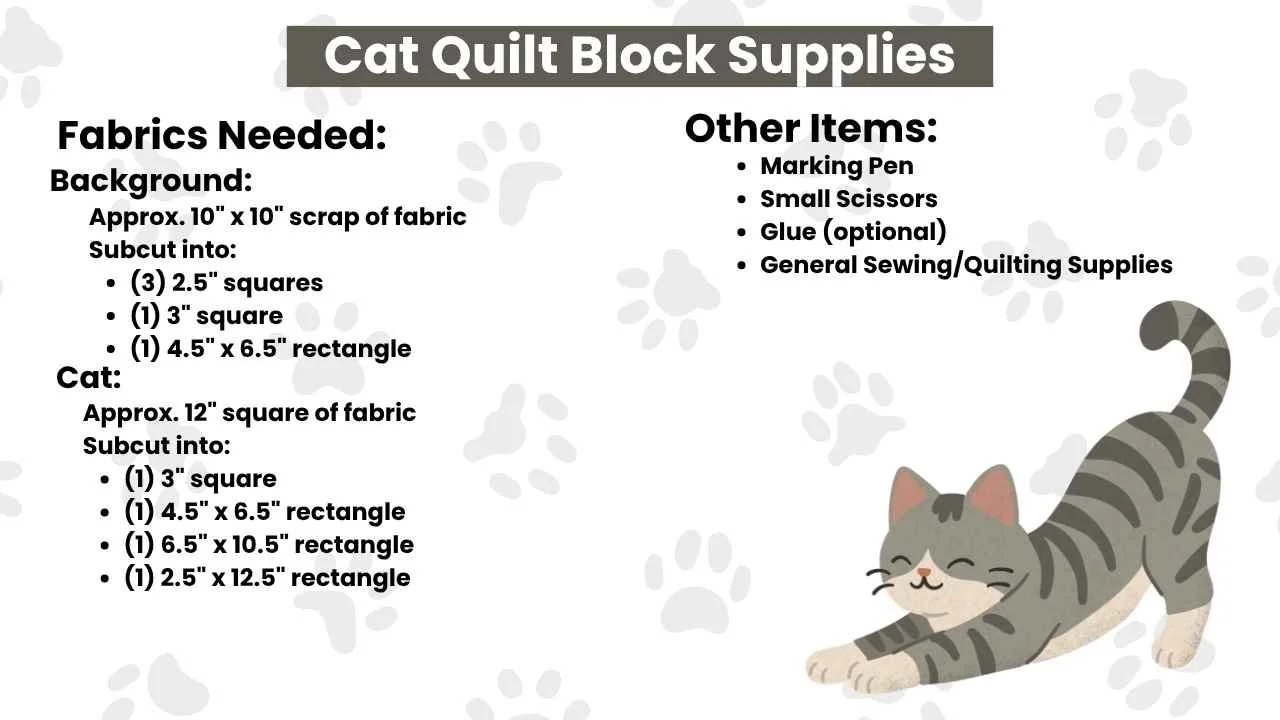
Let’s Make It!
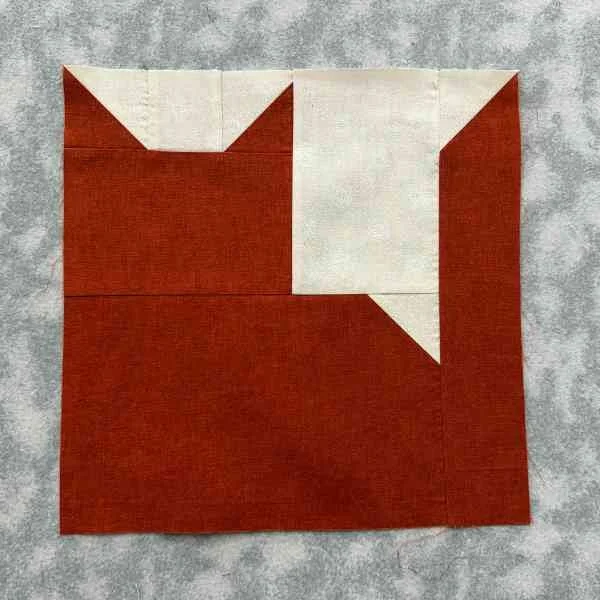
Step 1: Picking Fabrics
When picking the fabrics for this project, make sure to consider scale (size of the print) and contrast. This will help make the cat motif really stand out. Another thing to consider is directional prints. Although it is possible to use them, you may need more fabric to ensure all of your pieces and components of the block are going the same direction. Just a few things to consider.
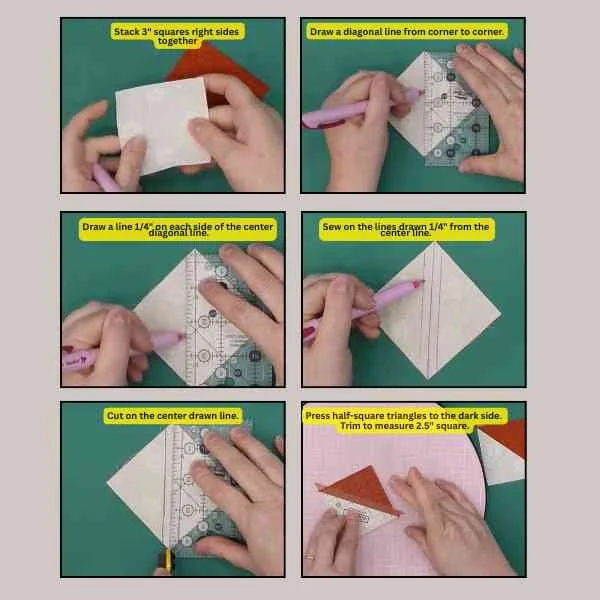
Step 2: Making the Ears
Gather (1) 3" background fabric square and (1) 3” cat fabric square. On the back of the background square, draw a diagonal line from one corner to opposite corner. Place the background fabric square on top of the cat fabric square with right sides together. Sew ¼" on both sides of the drawn line. Cut apart on the drawn line and press HSTs open. Trim each of the HSTs to 2½", if necessary.
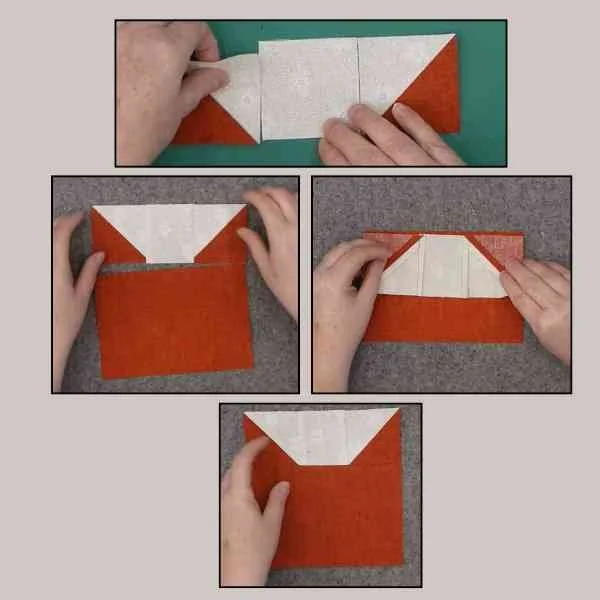
Step 3: Completing the Head Unit
Gather (1) background 2½" square. Paying close attention to the configuration shown, sew the ear row together.Next, gather the 4½" x 6½" cat fabric rectangle. Place the ear along one long edge of the rectangle. Sew the ear unit to the head unit as shown.
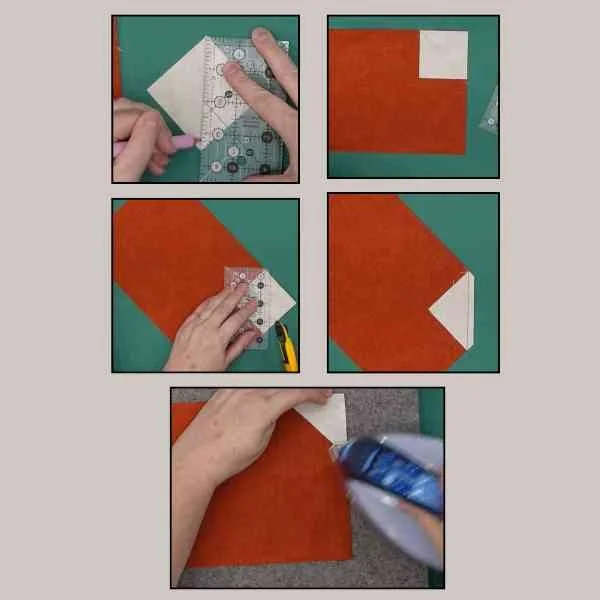
Step 4: Making the Body Unit
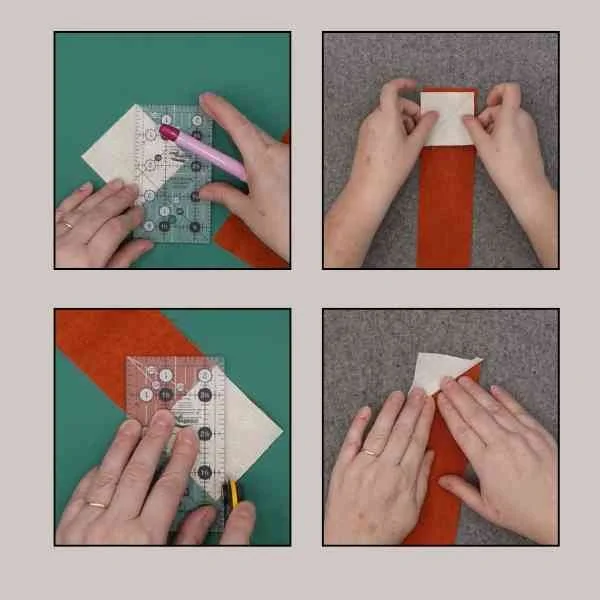
Gather (1) 2½" background fabric square and the 6½"x 10½" cat fabric rectangle. On the back of the background 2½" square, draw a diagonal line from corner to opposite corner. Next, lay the 6½" x 10½" rectangle on a flat surface with the long sides horizontal and the short sides vertical as shown. With right sides together, place the 2½" square on the top right corner of the cat fabric rectangle, ensuring the configuration is as shown. Sew directly on the drawn line. Trim off the excess and press the triangle out towards the edge.
Step 4: Making the Tail Unit
Gather the remaining 2½" background fabric square and the remaining 2½" x 12½" cat fabric rectangle. On the back of the background square, draw a diagonal line from corner to opposite corner. Place the 2½" x 12½" on a flat surface with the 12½" side vertically. Place the 2½" square on the top edge of the cat fabric rectangle, ensuring the configuration is as shown. Sew directly on the drawn line. Trim off the excess and press the triangle out towards the edge.
Step 5: Putting the Block Together
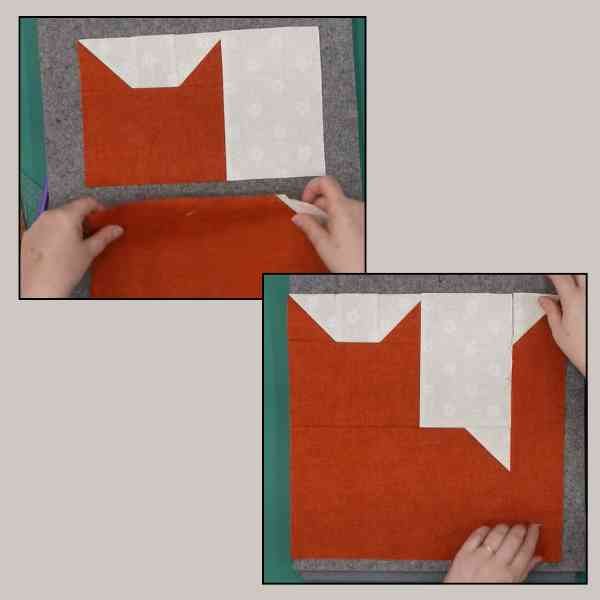
Gather the ears & head unit, the body unit, the tail unit, and remaining 4½" x 6½" background fabric rectangle. Sew the 4½" x 6½" background rectangle to the right side of the head unit. Next, sew the head unit from and body unit as shown. Sew the tail unit to the rest of the cat unit. Cat block should measure 12½" square.
Please let me know if you have any questions! Happy to help!
Happy quilting,
Kris